PVE8安装MacOS
下载镜像
https://github.com/thenickdude/KVM-Opencore/releases
下载 OpenCore-v20.iso.gz 找到最新的就可以
创建 MacOS镜像
Ubuntu 系统下
打包
好用
1 | cd ~/ |
弃用
1 | cd ~/ |
iso上传 pve
将
Monterey-recovery.imgOpenCore-v20.iso
上传到 pve ISO 镜像中
这里有 2023-11-25下载的版本:
修改 vm.conf
这里VM 的id 为 1000
1 | vim /etc/pve/qemu-server/1000.conf |
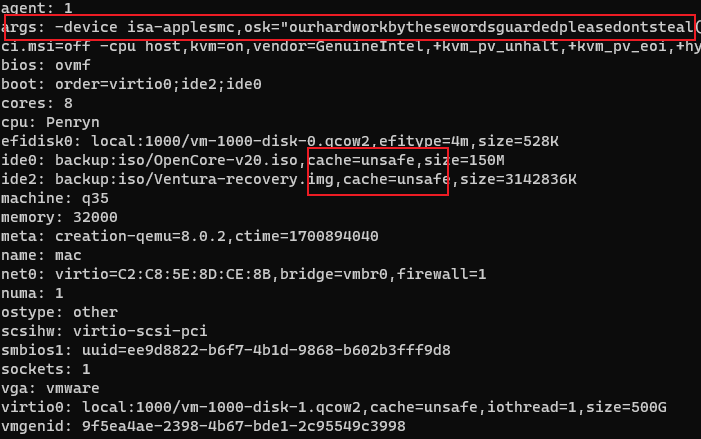
在第二行添加参数(intel 的处理器)
1 | args: -device isa-applesmc,osk="ourhardworkbythesewordsguardedpleasedontsteal(c)AppleComputerInc" -smbios type=2 -device usb-kbd,bus=ehci.0,port=2 -global nec-usb-xhci.msi=off -cpu host,kvm=on,vendor=GenuineIntel,+kvm_pv_unhalt,+kvm_pv_eoi,+hypervisor,+invtsc |
将两个ISO的配置修改:
1 | media=cdrom 改为 cache=unsafe |
结果如下:
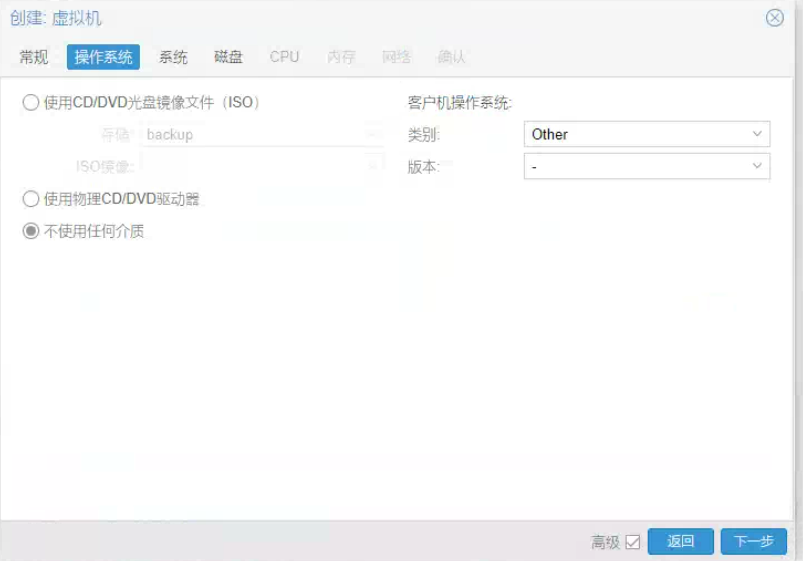
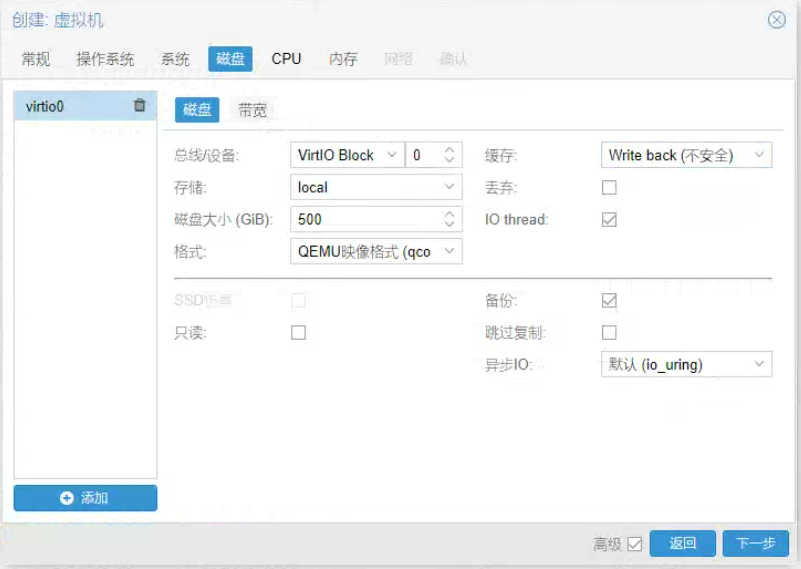
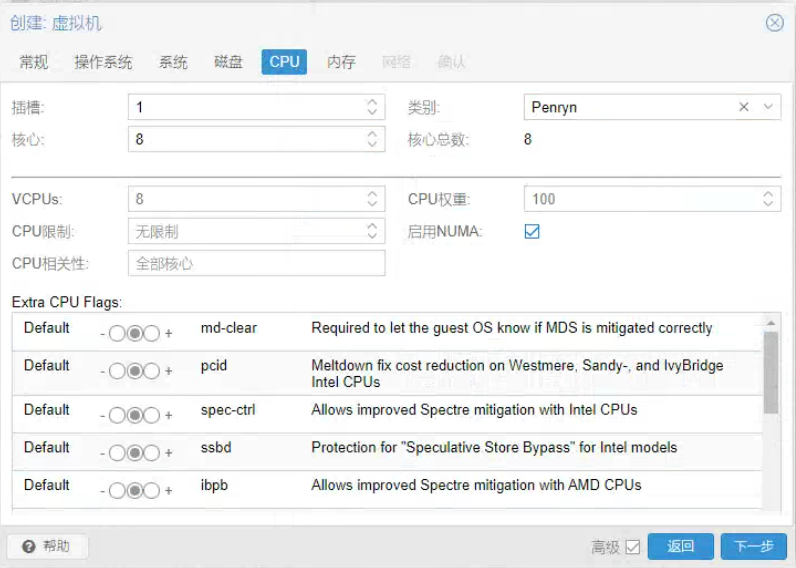
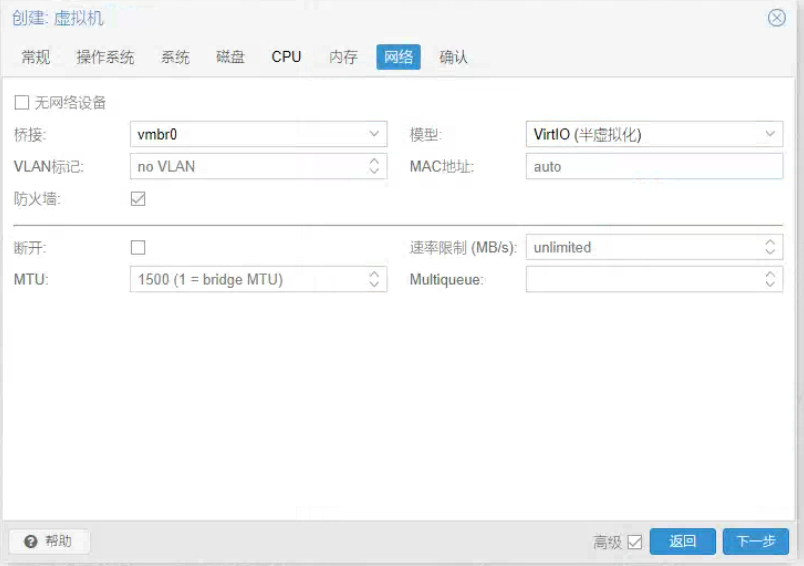
配置 VM
这里 VM ID 设置为 1000

启动系统
选第一个按回车就可以了
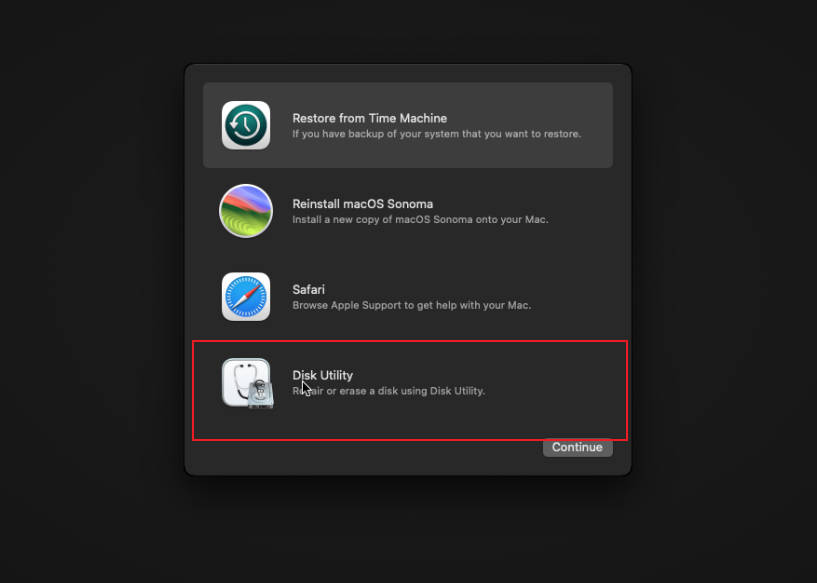
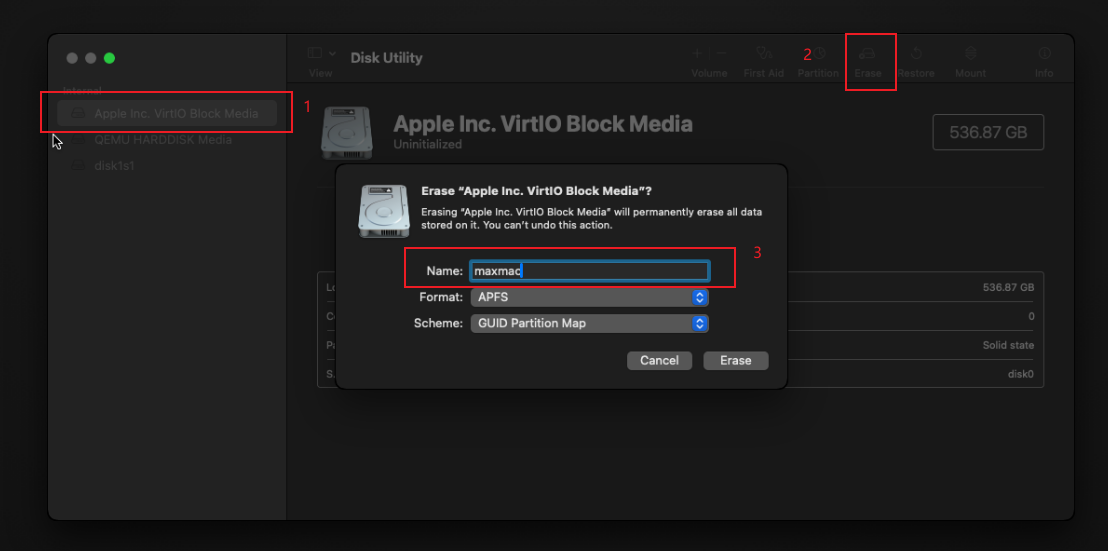
配置磁盘
结束后左上角叉掉
- Agree
- Agree
- 选择硬盘 maxmac
等待重启
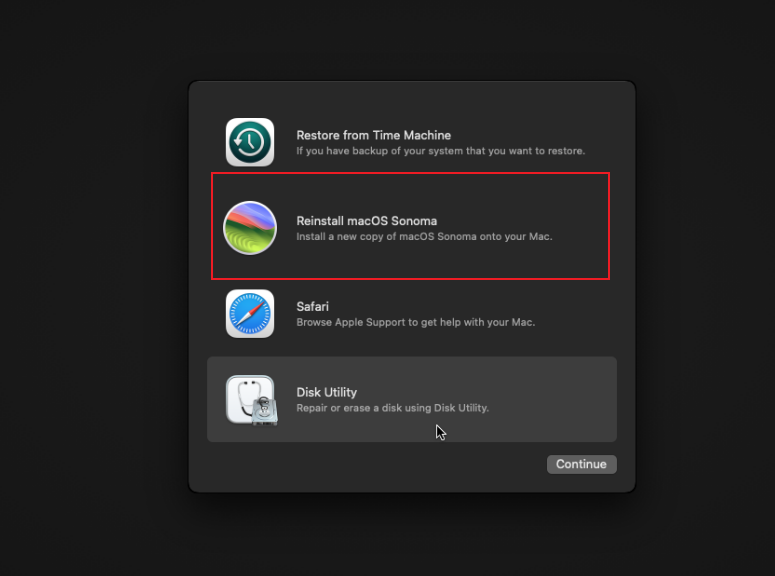
- 第一次选择 install
- 第二次选择 install
- 第三次选择 maxmac
- 第四次选择 maxmac
启动后选择 China
Migration Assistant 选择 Not Now
时区选择shanghai
下一步优化 MacOS
修改时间
1 | date -v+8H "+%m%d%H%M%S" | xargs date |